Asustor Nas setup, installation, troubleshooting guide
Fill the details to Setup
It’s not just the 2.5GbE networking feature or 5 GB/s data transfer speed, but the quick setup and intuitive UI and features offered make it stand out. You can get one for as low as $150 which is dead cheap for a NAS device with some loaded-features along with 4K UHD decoding.
What is ASUSTOR NAS ADM?
The ADM Defender is a unique feature of a NAS device that provides a firewall to your NAS devices to protect your drives during its access. It protects you from malicious attacks and also helps prevent any sort of hacker to get access to your data in your NAS drives. If there are multiple client IP addresses having a failed attempts to login will be blocked immediately for safety.
ADM additionally provides the Network Defender function which includes black and white lists. The blacklist automatically adds various IP address that has multiple unsuccessful login attempts. You can change them manually though if those IP addresses is from your side.
In the white list, users can specify a particular range of IP addresses from a particular region or country for added safety and flexibility for preventing login failures often.
Firewall:
Specific IP addresses can either be blocked or be allowed to access or black your NAS drives.
Trusted List:
The IP addresses specified by you manually in this list will not be blocked or added to the ‘black list’ at any cause and even after multiple failed login attempts.
Auto Black List:
Once this feature is enabled, then the client IP addresses will be blocked if there are multiple failed login attempts from a particular IP address.
Black and White List:
These two lists can be redefined using the IP addresses, range and geolocation. You might need to install the ‘Geo IP Database’ app to configure these IP addresses.
Asustor Nas LED Description
|
|
LED Indicator | Color | Description State |
|---|---|---|---|
| Power | Blue Orange |
Steadily lit Flashing |
Power on Waking from sleep mode (S3) |
| System Status | Green Blue |
Flashing Steadily lit |
Powering on System ready |
| Network | Blue | Steadily lit | Network port connected |
| Hard Disk | Green | Steadily lit Flashing |
Hard disk ready Data access in progress |
Asus Asustor Hardware Installation
- Make sure you have all of your data backed up into some other storage devices before you install the NAS for your hard-drives. This is because for the setup, it will erase all data available on your hard-drives already, and hence cannot be recovered.
- Place the ASUSTOR NAS on a table in such a way that the front is facing you. Press the button on the lower portion of your hard disk tray which will release the latch and open the tray half-way.
- Use the latch to gently pull your disk tray out of the NAS disk bay. Insert your hard-disk into the drive bay.
Follow these steps for your respective drives:o 3.5 inch Hard disk:
Insert your hard-disks in such a way that the mounting holes on your hard-disk line up with the holes on the sides of the disk tray. Use screws to tighten the disks into place.
o 2.5 inch disks:
Being smaller than the disk tray, align them with the mounting holes to the bottom of the tray. Once aligned, screw them tight.
- Now slide the disk tray along with the installed disks into the drive bay of the NAS device and once you place them half-way inside, use the latch to gently push them inside into the drive bay.
- The latch will help you gently move the hard drives and snap into place with a ‘click’ sound.
- Also, it is recommended to install your hard-drives from the left-most bay to the right ones later.
Powering the NAS with supply
- Use the power cable included in the box to connect your NAS device to a power source.
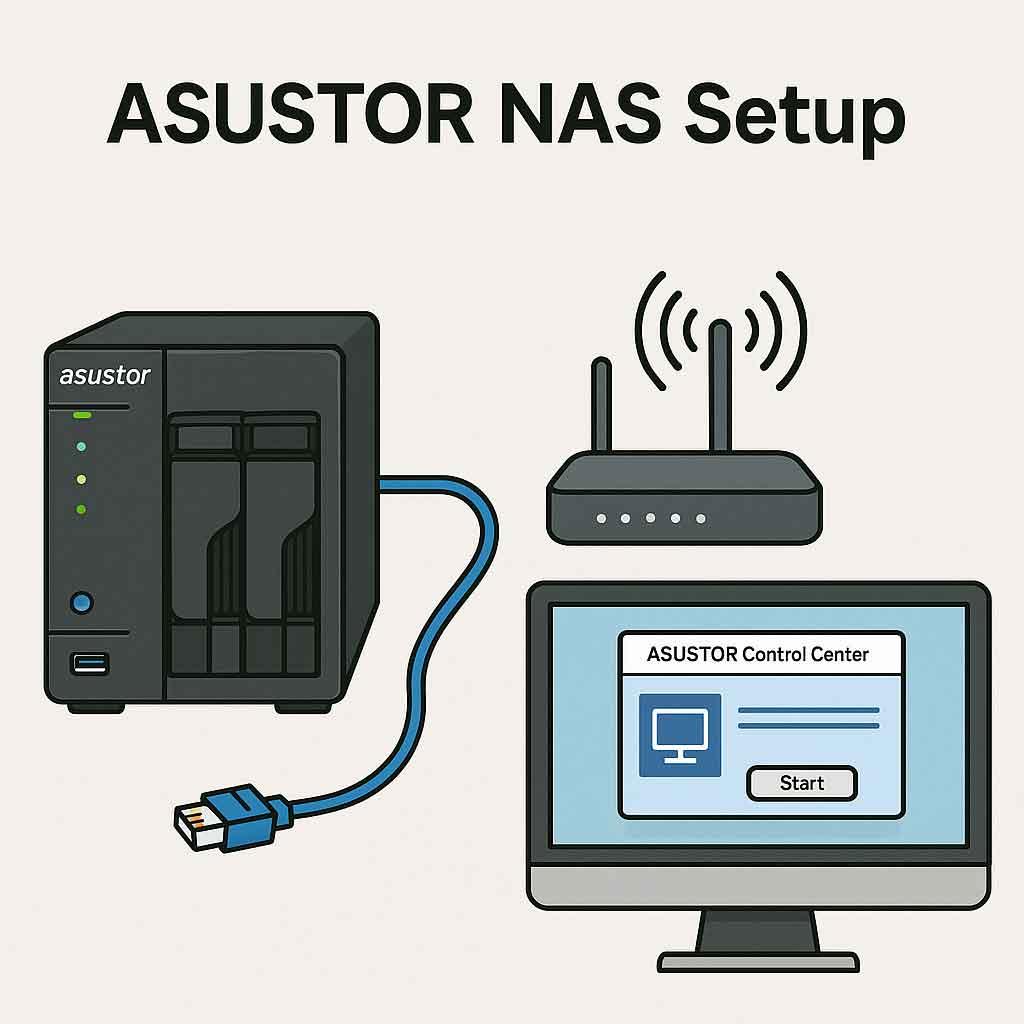
- Use an Ethernet cable to connect the ASUSTOR NAS to your main Wi-Fi router.
- Press and hold the ‘Power button’ present on the front panel of the NAS device until the LED indicator turns to a ‘blue’ colored LED.
- While powering ‘ON’, the ‘green’ color system status LED will flash for a few seconds and then the ‘blue’ color Power LED will also be switched ‘ON’.
- Once you hear a ‘beep’ sound and the ‘green’ status LED will now stop blinking and give a solid ‘green’ color now.
ASUSTOR Mobile Application
- Android: https://play.google.com/store/apps/details?id=as.arc.aicontrol
- iOS: https://apps.apple.com/us/app/aimaster/id668985791
Asustor Nas Software Installation and Setup
CD Installation:
Windows:
- Visit ‘https://www.asustor.com/en/service/downloads’ to install the ASUSTOR Control Center for the NAS device of a particular model number. You have separate versions for Windows (32-bit and 64-bit) as well as MAC devices.
- If you are unable to install this software, then on the same browser search for ‘acc.asustor.com’
- Insert the given installation CD (included in the box) onto your computer/laptop drive bay.
- Select ‘Autorun-CD’ for your CD drive. Once the auto-run application menu opens up, click on the ‘Start’ button.
- This installation wizard will open up the ‘ASUSTOR Control Panel’. After it has been installed, it will scan for ASUSTOR NAS devices. Once the Control Panel has been installed, it will automatically scan for nearby networks available.
- Once it selects any particular network, it will search for ASUSTOR NAS devices. It will show a list of NAS devices and select the one which you have installed currently.
- Click on ‘OK’ to complete the setup process.
MAC Users:
- Visit ‘https://www.asustor.com/en/service/downloads’ to install the ASUSTOR Control Center for the NAS device of a particular model number. You have separate versions for Windows (32-bit and 64-bit) as well as MAC devices.
- If you are unable to install this software, then on the same browser search for ‘acc.asustor.com’
- Insert the installation CD into your computer’s DVD drive bay and once the menu opens, select ‘Quick Install’ from the autorun menu.
- The installation wizard will automatically install the ASUSTOR Control Center into your computer. You can choose whether you need or do not need to install the ‘Download Assistant’ that comes with the software.
- Once the Control Panel has been installed, it will automatically scan for nearby networks available.
- Once it selects any particular network, it will search for ASUSTOR NAS devices. It will show a list of NAS devices and select the one which you have installed currently.
- Click on ‘OK’ to complete the setup process.
Web Installation:
- Enter the ASUSTOR NAS default IP address which will be ‘192.168.1.1’ or ‘acc.asustor.com’ in your
computer/laptop’s web-browser which is connected to your NAS device. - Open the ‘ASUSTOR Control Panel’ application and let it scan for NAS devices around you. Once you select your specific NAS device, and make sure that the network that this NAS drive is connected is the same one which is connected by your computer too.
- Once your NAS device is listed in the main page of the application, click on the ‘Uninitialized’ red button present on its right-side.
- It will redirect to a web-page on your default web-browser automatically which will lead to the setup’s welcome page.
- Click on the ‘1-Click Setup’ and on the next page, enter a server name in the first dialog box as you wish. You can leave the ‘Username’ to be default as ‘admin’ or else set up a custom name if necessary.
- Enter a password and reenter the same password in the ‘Confirm Password’ box.
- If you use a single disk in the drive bay, you can choose ‘Maximum Capacity’ option. Else, if you have multiple disks, then go with the ‘Balanced’ storage option for better security as well as storage solutions.
- It is recommended to select ‘Support snapshot backup’ option for better snapshot processing and protection of your data at any point of drive failure or system crash.
- Click on the ‘I confirm’ checkbox and click on ‘Next’ arrow button. It will now move to the next page where it will initialize all the drives in your NAS, make partitions, give names and volume sizes respectively. In a few minutes, the setup will be completed and once done, it will redirect to the next page.
- Here, you can register your ASUSTOR NAS product either by creating a new ASUSTOR account or by using an existing one.
- Click on the ‘Next’ arrow and on the next page, select the in-built services that you wish to install for your NAS device. It is your wish to either select or deselect them. Click on ‘Finish’ once done.
- Now click on ‘Start’ on the next page. It will now redirect you to its configuration page. Click on ‘Continue’. Then click on ‘Start’. If you wish to install more applications to configure your NAS device, then select the ‘App Center’ to download apps.
- The ‘Access Control’ section allows you to segment the category of users who can access, change properties and manipulate data based on permissions allotted respectively to each user.
- The ‘Activity Monitor’ section allows you to get an idea about the CPU, memory, and network and disk usage at a particular interval of time.
- The ‘Backup & Restore’ option lets you create a backup of your data whenever required allowing it to create instances at odd times of the day when you may or may not be using your hard drive.
Direct Connection:
- First make sure that your NAS device and the computer are in the same local area network or connected to the same Wi-Fi network.
- Also, see that the LAN LED is glowing if you have connected an Ethernet cable. If it doesn’t glow, then connect it to another port or use another Ethernet cable.
- Disable any firewall or antivirus running on your computer. Now scan for NAS devices using your ASUSTOR NAS control center again.
- Select ‘Start’ button on your Windows toolbar at the bottom. Select ‘Control Panel’ ‘Network and Sharing Center’.
- Click on ‘Change adapter settings’. Right-click on ‘Local Area Connection’ icon and select ‘Properties’ option.
- Under ‘Networking’ tab, select ‘Internet Protocol Version 4 (TCP/IPv4)’ and then select the ‘Properties’ button.
- Under ‘General’ tab, select ‘Use the following IP addresses’. In the IP address box, enter ‘169.154.1.1’. Enter the ‘Subnet Mask’ as ‘255.255.0.0’ and then click on ‘OK’ button.
- Now, open the ‘ASUSTOR Control Center’ and once again scan for NAS devices. It should be able to detect your NAS device quickly now.
Why is my ASUSTOR NAS device unable to enter into ‘Sleep Mode’ (S3)?
S3 or ‘Sleep Mode’ is a suspended state to the system memory that is supported by the system hardware and some operating systems. The NAS device will wake up once the ‘Power’ button is pressed or wake up by ‘LAN on ASUSTOR’ Control Center’s commands. It will quickly wake up from system memory as compared to a cold boot-up.
Causes:
- Apps: If you have installed certain apps from ‘App Central’ such as UPnP Server, iTunes Server,
Dropbox. These Apps might scan or sync files/content in the background all the time or regularly, preventing disk hibernation. - Download Center: If Download Center is continously downloading files from internet, it will continue to access hard disks.
- Windows Services: If your NAS has been joined to Active Directory (AD) or the local browser has been enabled.
- Client PCs/Macs with mapped share folders from the NAS.
- Utilities: ASUSTOR Control Center, Backup Plan, Download Assistant. These PC utilities may keep checking for the existence of your NAS preventing it from entering into hibernation.
How to Factory Reset ASUSTOR NAS
- A factory reset can reset all your NAS settings back to defaults and erase all the data from your hard-drive. It is hence advisable to create a backup of the password and data from your drives before you carry out a factory reset.
- Either use ‘acc.asustor.com’ in the web-browser or else the ASUSTOR Control Center to login into the configuration page of your ASUSTOR NAS device.
- Click on the ‘Settings’ icon. Under ‘Settings’, select the ‘Factory Defaults’ option.
- You will now see a warning statement in red color saying that you hard drive will be erased of its data and other NAS settings will be reset. Once you are ready, click on the ‘Apply’ button.
- A confirmation box will open. Click on ‘OK’. Your ASUSTOR NAS device will be reset to factory defaults in a few minutes.
- To perform a soft reset, take a tiny paperclip or a pin and press the hole next to the text ‘RESET’ at the back of the NAS device and press for 5 seconds. The ASUSTOR NAS will restart with a beep sound. This will reset the administrative credentials.
How to Backup Data on your ASUSTOR NAS?
- Visit ‘https://www.asustor.com/en/service/downloads’ and select your ASUSTOR model. Now download the latest version of the ‘ASUSTOR Backup Plan’ (ABP) software.
- After installing it, open the application on your desktop. Click on the ‘Create’ icon on the top left corner. Select ‘ASUSTOR NAS; from the list of options.
- Enter a name for your backup file. Click on ‘Next’. From the list of NAS devices, select the option which relates to your NAS device like ‘ASUSTOR NAS – 172.16.2.10’.
- Click on ‘Next’. Now, enter the ‘Username’ and ‘Password’ for your NAS’s login. Click on ‘Next’. Select ‘Schedule Backup’ radio button.
- Select the ‘Backup Frequency’ option as ‘Weekly’ or ‘Monthly’ which will save you more space and time.
- Click on ‘Next’. Now select the ‘C:\’ drive and select the file/folder which you wish to backup. Click on ‘Next’.
- Now select the location where you wish to store the backed up file. Click on ‘Finish’ to complete the backup process.
Why this guide disappeared and how we brought it back
You may have noticed that this ASUSTOR NAS setup guide suddenly disappeared — here’s what happened. Unfortunately, our domain was hijacked due to a security breach, causing all of our helpful articles to go offline. This was a frustrating experience, and we took immediate action to regain control. After improving our security measures and working closely with our domain registrar, we were able to get our domain back. Now this guide is back online, updated and better protected from future threats. Thank you for your patience and support!
More than just the basics: Unleash the full potential of your NAS
Setting up your ASUSTOR NAS is just the beginning. Once you're online, there’s much more you can do to maximize performance, security and convenience. Learn more about advanced settings such as snapshot backups, custom firewall rules and IP-based access control for enhanced protection. Don’t underestimate the power of scheduled backups — automating data protection ensures you never lose valuable files unexpectedly. You can also add applications such as Plex Media Server, cloud synchronization services or home automation integrations to ASUSTOR's App Central. Customizing your NAS in this way will transform it from simple storage into a powerful hub for your home or small business.